 A couscous-maker designed by the Daft punk ? a space craft model from an ed wood movie ? after a first look it seems like nothing, but this thing is able to generate some electricity… by using thermal differences, in fact the seebeck effect (to do it well).
when we are hanging around on youtube we find videos called “incroyables expériences”, which are very interesting; we learn about how to build a Tesla coil, a loader, batteries, how does induction work… and when we are digging we find the video “thermopile”. on it everything is explained, seebeck effect, Peltier, a peltier piece framework, video is before all a seebeck effect demo, but the thermal generator showed and employed is not resistant against an another use (the oil light burns too fast peltier's piece). this little article try to show a "do it yourself" way to use this effect but several times.
1) Peltier's effect, Seebeck's effect
Peltier's effect (or thermoelectrical effect)is a physical phenomenon able to create a heat motion with the help of an electric current; to do that we lead the current on beyond two different materials able to conduct electricity and linked each other with junctions, step by step a junction will cool down and the other will warm up. we employ that thing for refrigeration. Some metal couples will be more efficient than others, A little like oxydo reduction reactions, we are talking about thermal couples.
seebeck effect is a little the contrary, and it will be our interest's subject.
2) peltier module
normaly the main fonction of this component is to create a thermal difference by using a DC current, the kind of module used here (12706) works on 12 volts. we use it for several things, including microprocessor's cooling system, little fridges's cooling systems for cars…and also draught beer systems. it has 2 sides, a cold face and a warm face, the object to cool down is fixed on the cold face and we set up an evacuation system for the heat on the other side(like the video seen on youtube “incroyables expériences”) like a little fan for exemple.
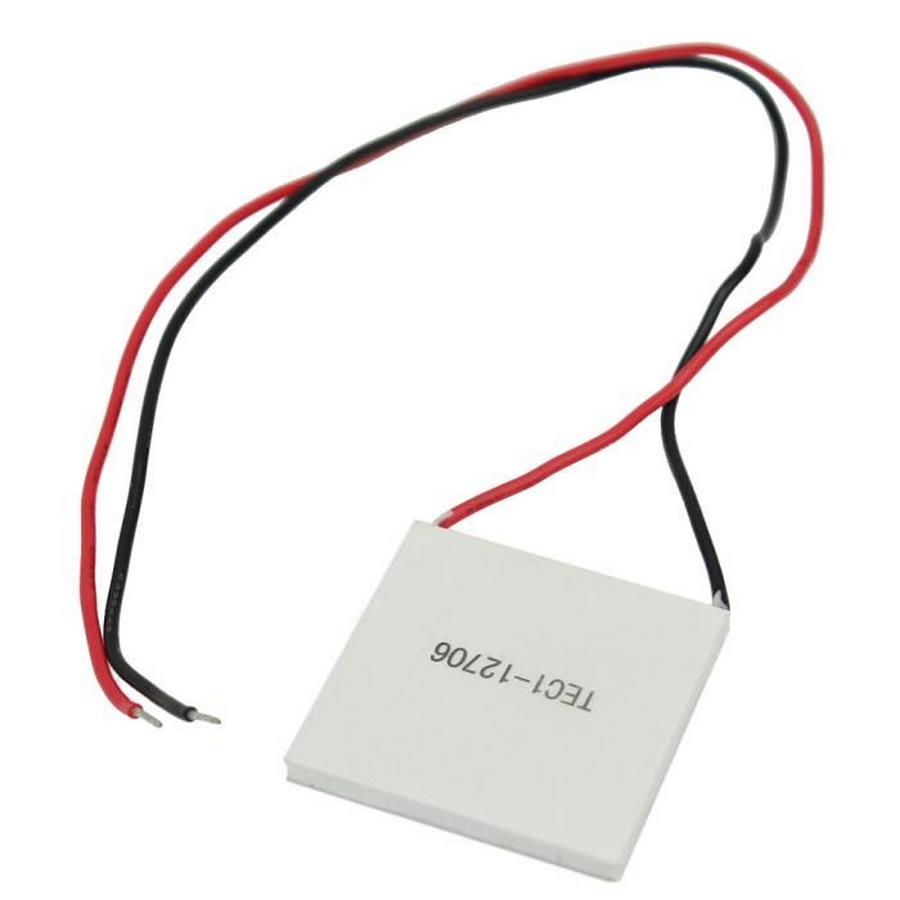
Nevertheless even if it's not conceived for that if we apply a warm source on the warm side and a cold one and the cold side, it will make a potential difference between its 2 terminals, so an electrical current. yield will be still weak . if we lay a module on a table with a voltmeter linked on it, and if we put our hand on the other face we will notice a slightly electrical current which will dicrease (the difference between thermal's module faces will be balanced quickly). we can have some fun by changing cold or warm sources: a hair-dryer, a magnifiying glass, ice cubes…obviously we get better results by using a cold and a warm source in the same time, if it's not the case after a little time temperatures between the module sides will be balanced, tension made will fall.
3) components and price
this generator made will have to follow some rules : don't be too expensive (because i'm greedy...and with a lack of money too) and able to work with one or two energy's sources easy to use, and employ a warm source no more than 100°C to preserve our peltier's modules.
to do it we will need several things :
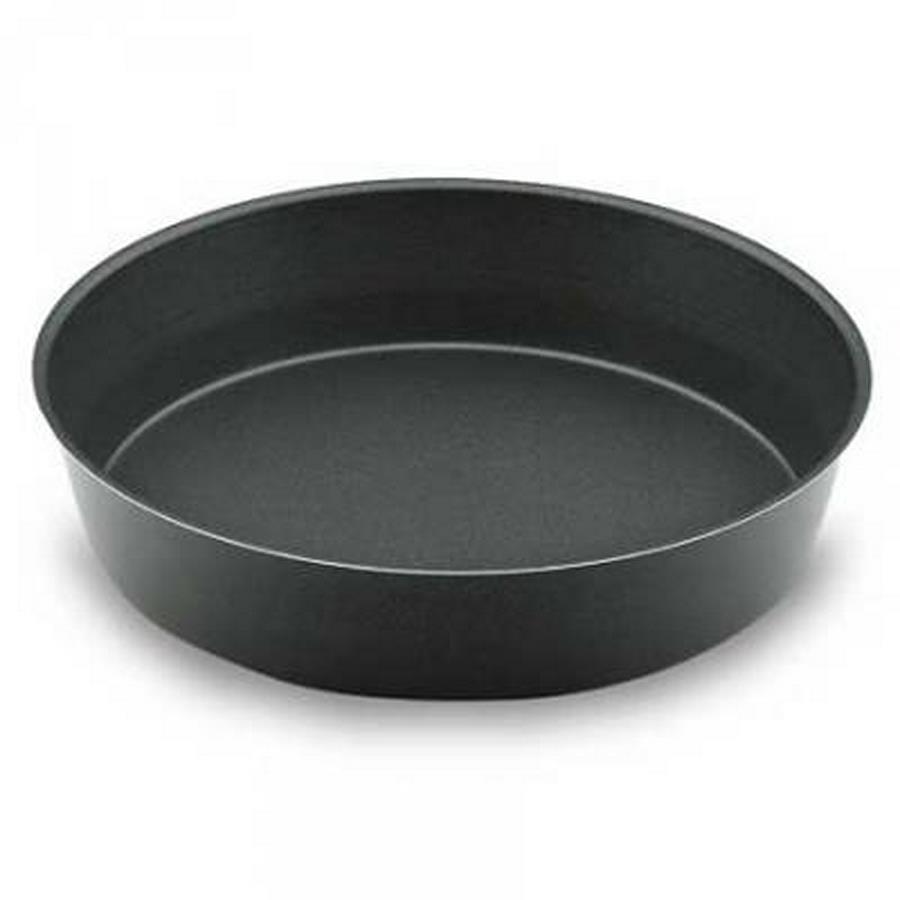 2 cake tins
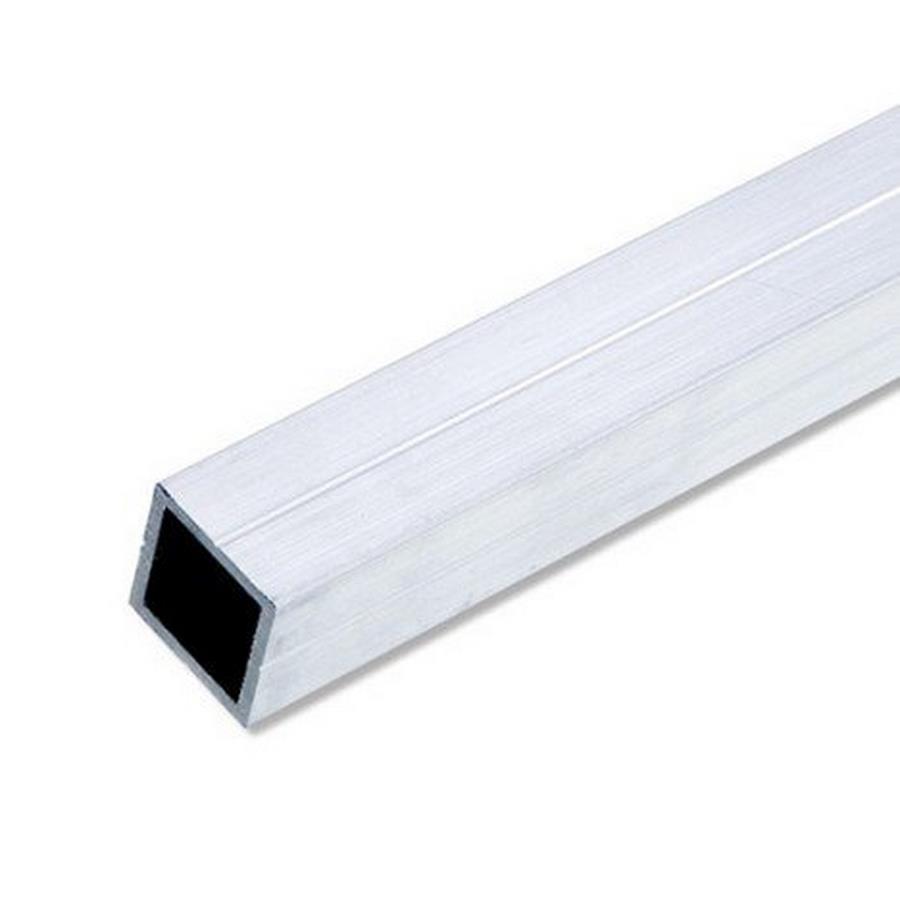 an hollowed squared tube in aluminium
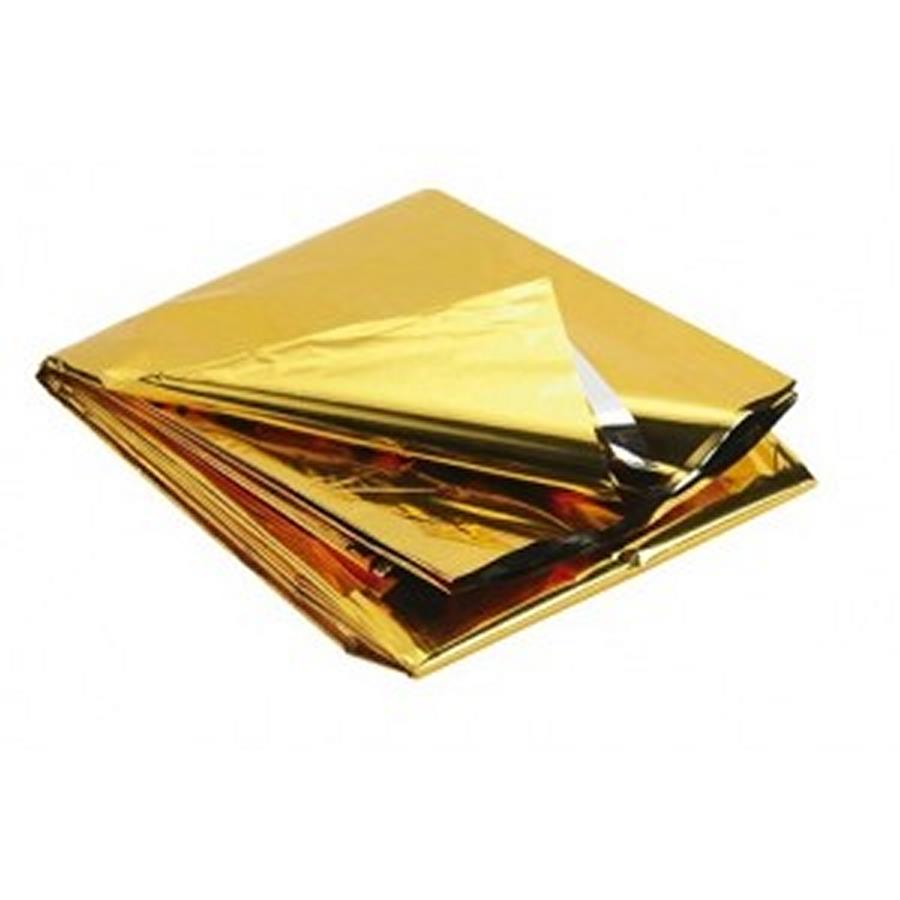 a survival blanket
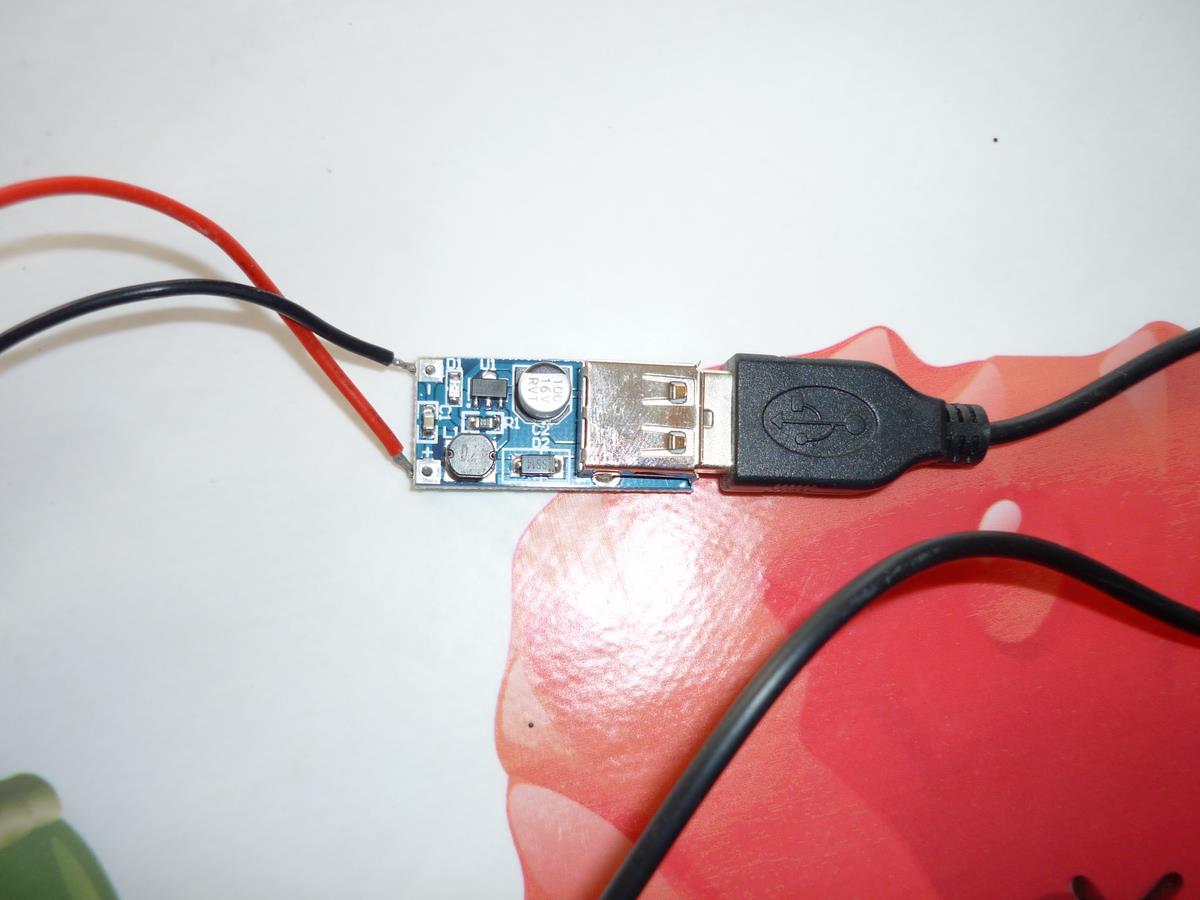 a booster able to increase the entry voltage until 5 volts at the exit and with a balanced voltage( CE8301 model).
we will need a polystyrene board too (as wide as the squared tube side in aluminium), silicon, a transparent pvc board (and strong against UV) , little mirors and a system to fix it (dorr hinges in my case). one will need 10 peltier modules too, and if it's possible some thermal paste. One will add up spongious towels .
finally, if we grab things people got rid of it, for about 25 euros we can do that. on the web ten peltier modules cost around the price of 20 euros, a booster less than 3 euros. after that if one is lucky it's maybe possible to get peltier modules in dead computers , some old iceboxes or in some draught beer systems (don't forget to make the barman drinking and let him drunk before), and little iceboxes in cars.
4) or DIY thing
One begin to sand paint on cake tin's bottoms until the aluminium, on one of them one sand the depth of the cake tin too; this last one will be “cold part” of our thermal generator, so the first cake tin with only its bottom sanded will be “heat part”(it's better to keep the cake tins depth black for our hot part because it will be more efficient to grab and keep on it sun's rays, in fact heat).
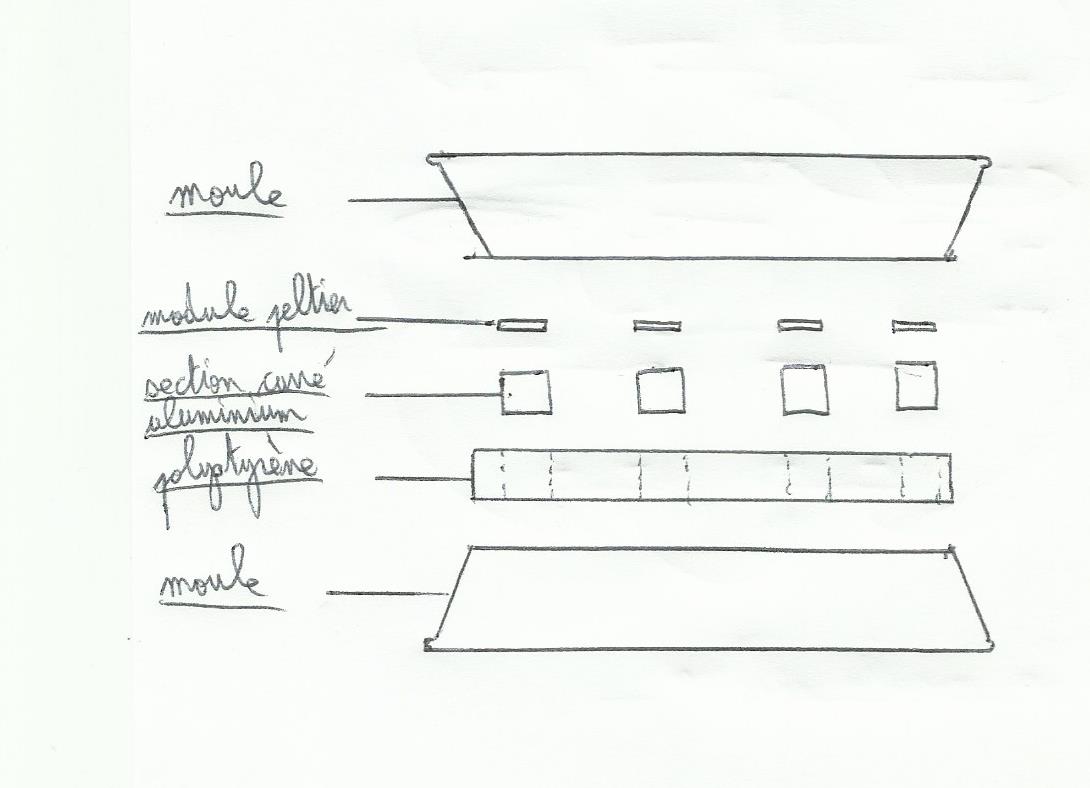
one cut the alu tube . a peltier module has a squared shape with 4 cm sides. on my lucky day i have found a tube with a squared section with 2 cm sides, so i had to cut twenty parts (two for each module), a part has a length of 4 cm. tube i have found was anodized, so i sanded it to get rid of the anodyzed layer to have a better heat conduction.
one cut polystyrene board in circle with a diameter equal to cake tin bottoms, and in that circle one will cut ten squares with 4 cm sides. it will welcome 2 alu parts each. this polystyrene layer will be the isolation material between each cake tins.
one will then glue with silicon (with cyanocrylate glue it will dissolve polystyrene) the polystyrene circle on the cake tin “heat face” and dispatch alu parts in holes without sticking it on the cake tin.
Then one can fix peltier modules on alu parts, and link them in series connections:

before fixing it on aluminium, one put some thermal paste on alu (not too much, 2 or 3 narrow lines will be enough) and some strong glue in a weak quantity at each corner of each module. before sticking everything beware of module sides with “heat part and cold part”, a good idea is to check them with a voltmeter before fixing to avoid mistakes.
before sticking cake tin “cold part” one add up thermal paste on our free module sides , and then one stick cake tin with silicon.
At the end one adds up some silicon on junctions to isolate all the system.
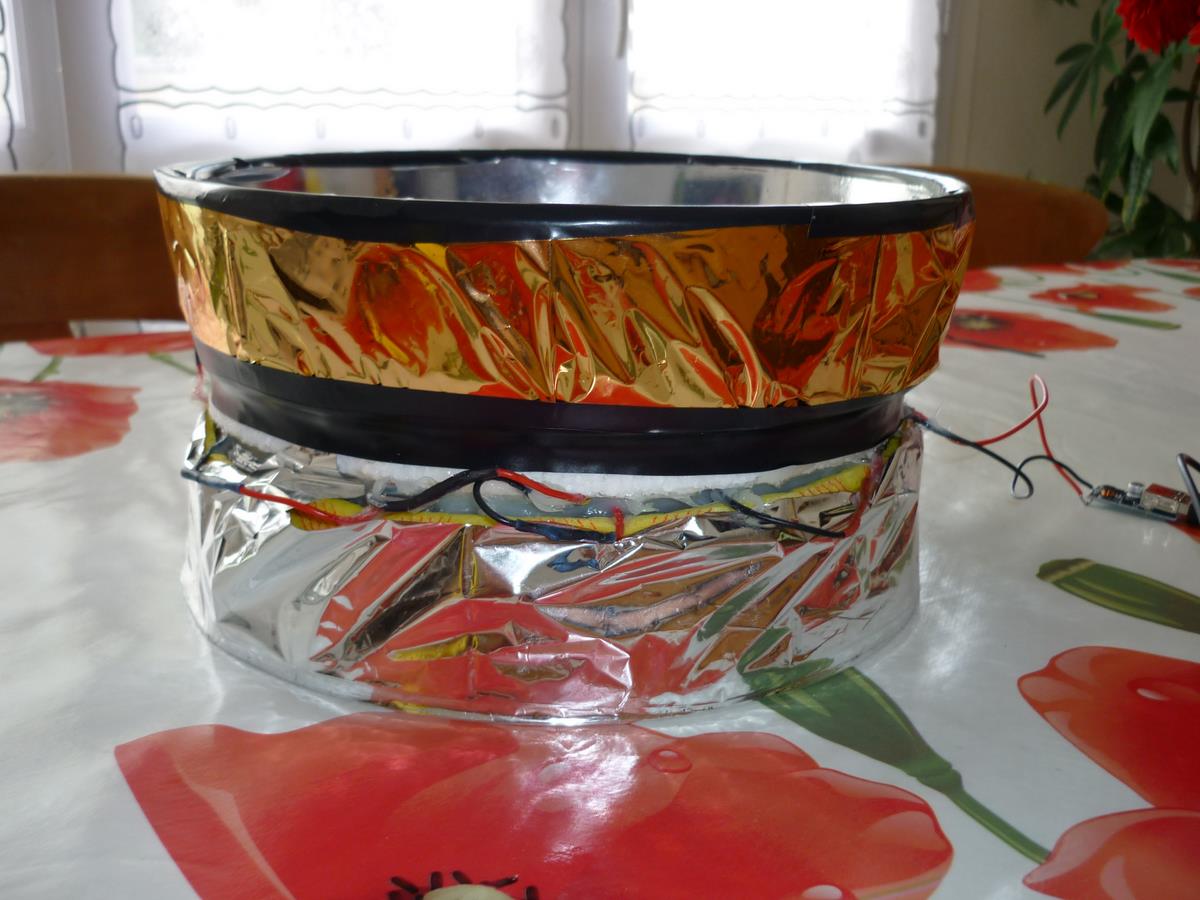
now the main things are fixed, one will isolate cake tins; on cake tin surroundings “heat” one will stick if it's possible a hydrophobic isolation material, for me i have cut a gym carpet (it also gives a good reason to give up gym) then one sticks on it a piece of survival blanket, gold side outside. around the cake tin “cold” one sticks spongious material. above one will set up a piece of survival blanket but this time with silver side outside.
5) How it works
a. with the sun:
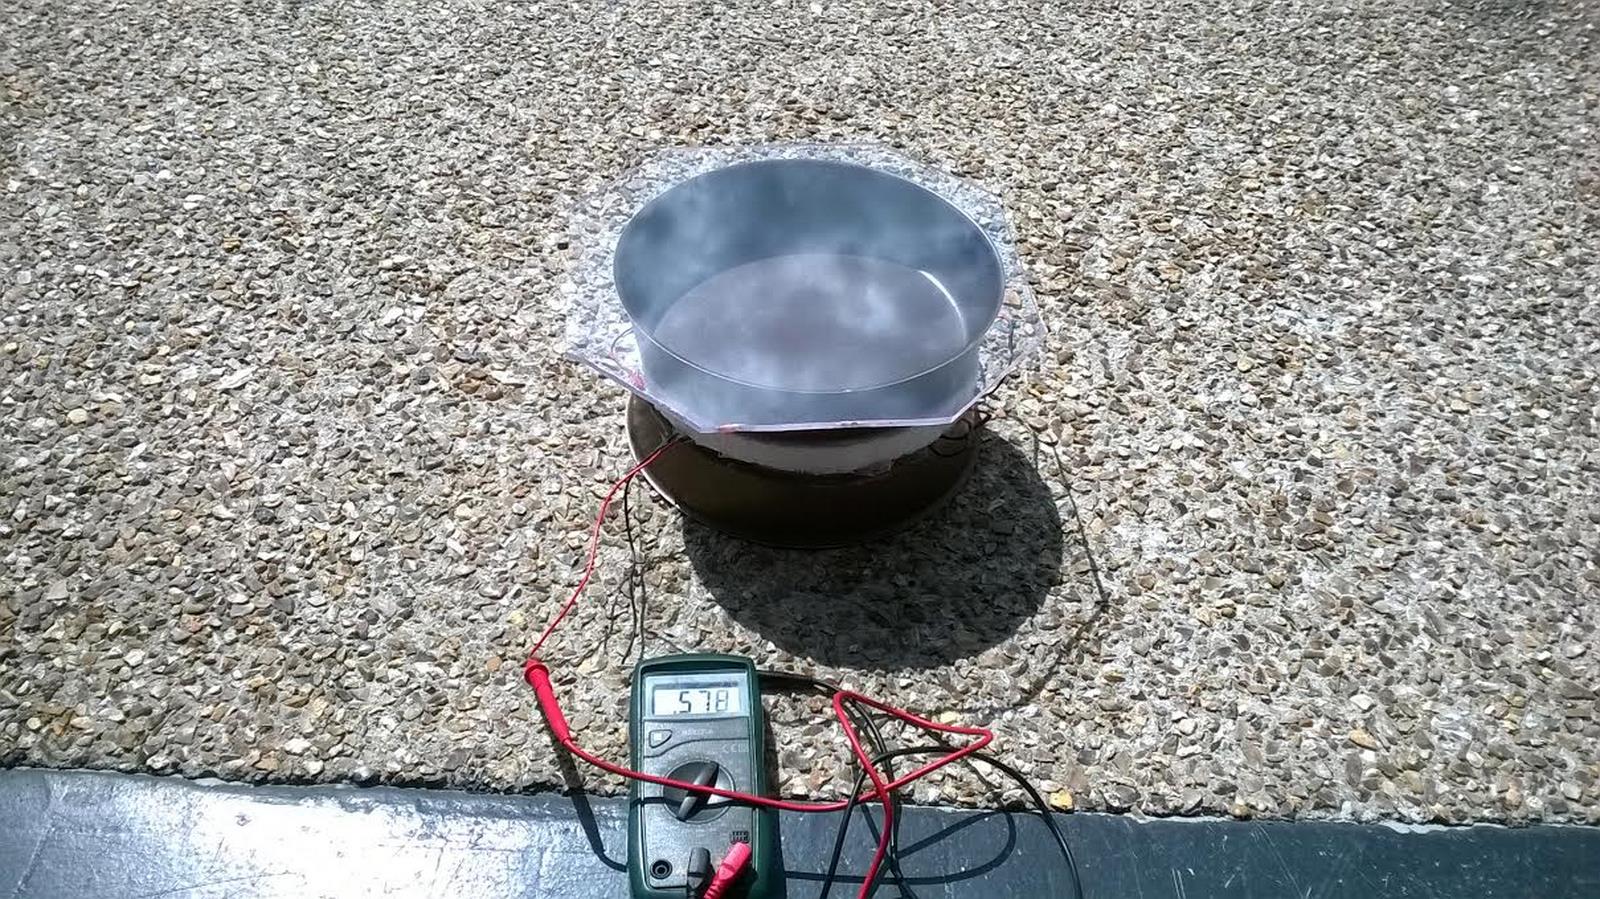
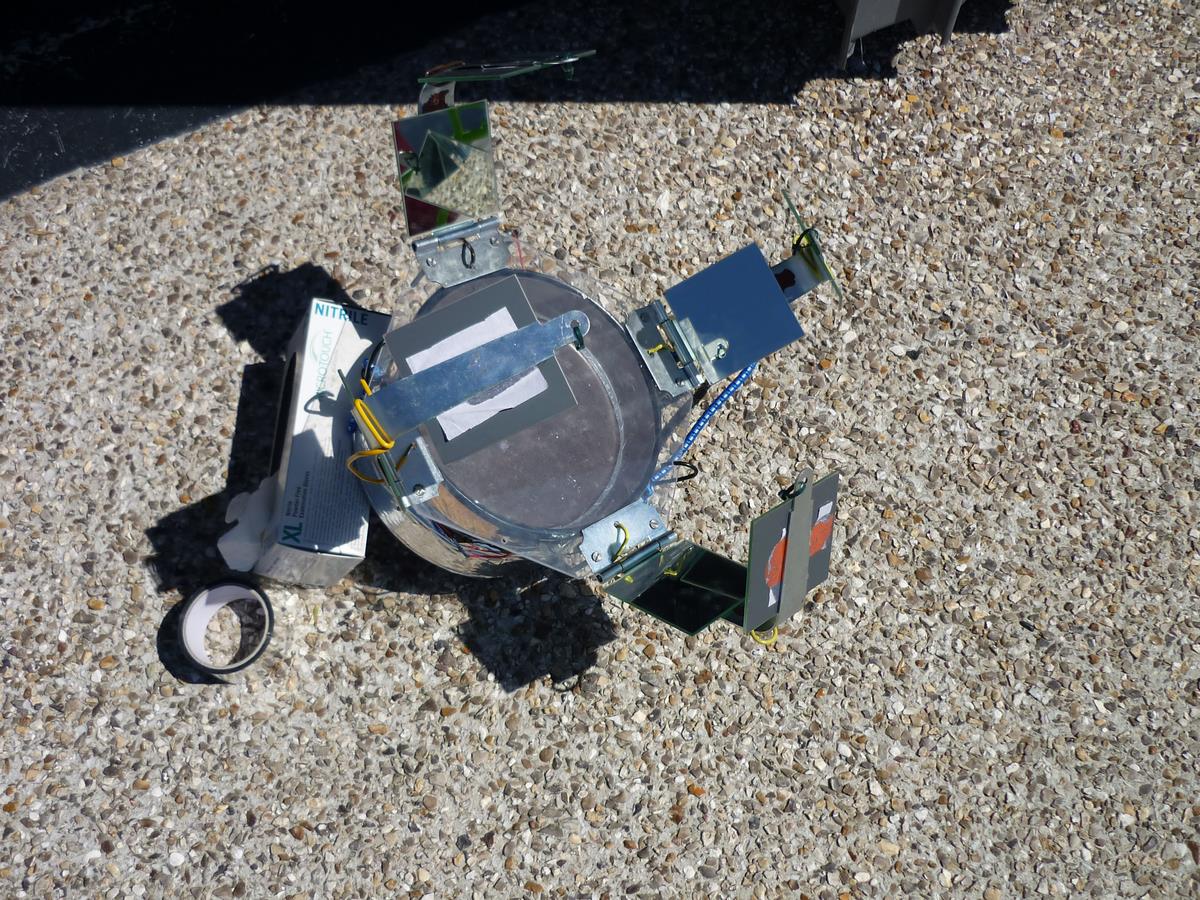
without thermal isolation, the system as it's showed on the photo, with an almost clear blue sky increases at the maximum of 1,1 volts for 20 mA after 15 minutes, and then falls and gets balanced at 0.8 volts roughly. we use the same idea than what is happening under a veranda or in a shut car (greenhouse effect). the black tin's color picks up heat easier, and transparent pvc “traps” infrared's wavelengthes, keeping more heat inside the cake tin. to improve tension's results one will have to isolate tins and try to grab more light aimed inside.
tin “heat part”
on the last photo, we add up mirors fixed on little door hinges 90 degrees . to let hinges in the same position, one can use iron wire or a hanger easy to twist:
at the end we got this:
then when all that is done, we got those results (a shiny august weather in normandy):
+10 min=1.12 V; +20 min=1.6 V; +20 min=1.8 V; +30 min= 1.7 V (then balanced at 1.6 V). 45 minutes after if we spray on cold part some tepid water tension grows at 2.6 V. if we spray more it can grow until 3.7 V. 15 minutes after tension has come back at 1.6 V for 50 mA roughly. A 3.7 V we have 80 mA. when one spray tension increases quickly, falls and get balanced a little at 2 V (70 mA) but finally falls at 1.6 V. when we soak spongious material with water nothing happens, one should rather spray cold part on tin's bottom “cold part”.
b) with heat steam
One set up the system on its heat part, above a saucepan full of boiling water. beware of any direct contact between the tin and the saucepan “heat part” (to avoid too heat given to peltier's modules by thermal conduction), one can use cardboard pieces for exemple. water steam will heat heat part. we get:
the beginning: grows quickly and stabilizes at 2.8 V; +5min=2.65 V and 90mA; +10min=2.55V and 85mA; +15min=2.47 V and 83mA; +20min=2.3 V and 75mA.
then if we add up cold water inside the tin's cold part, we have:
the beginning: 7.5 V for 2.5 A; +5min=8V and 2.5 A; +10min=7.5 V and 2.5V; +15min=6.85V and 2.2A; +20min=6.55V and 2.2A.(the power provided decrease because water which is added up heat step by step).
now, we will see if we could use energy got to load a cellphone or AA batteries, for that we will link on battery 's exit the booster (DC-DC 0.9V-5V). with maker's data, by using an entry's tension between 0.9V and 5V, it provides a balanced 5V tension. on the booster there is a red del which adverts if it's loading or not.
from about 1.12 V my phone starts loading, However, after checking on the long term charge isn't working very well; although on the screen it's written in charge it seems to discharge battery. Charge on my cellphone seems to be correct when tension at entry's booster is at least 2.6 V and 80 mA (my cellphone battery is 3.7 V and 800 ma per hour).
on the market i have found an AA batteries loader with an usb plug. we could also change piles with an usb plug 12 V, and the can & rsquo; use it to charge a laptop with. By plugging loader on booster's exit nothing happens (the red dell is not shining), with sunlight and heat steam too (on the loader it's written that to work well it must have a tension of 5 V and an intensity of 0.5 A).
to improve our system we will have to improve thermal isolation, and find a better way to use sunlight, a little like solar ovens. with the solar energy used our main difficulty will be to work with a weak tension's exit to get it usable (each component brings an energy loss by Joule effect…), even if we use it just to charge only one AA battery (1.2V 2100 ma per hour). for heat steam's source we will have to find a solution to balance tension at 5 V, and maybe decrease intensity provided too to protect the loader or batteries. we will improve our cold part too by changing it into a water tank. Maybe it would be possible to use other heat sources…(chemical reactions..., maybe)
Bonjour Arnaud, depuis 1 an et demi, as-tu avancé sur ton projet? As-tu essayé avec plus de modules Peltier, ou même essayer de changer la disposition de modules (série/parallèle). Pour le moment, le mieux que tu as pu faire au soleil c’est 4,5v/100mA c’est bien ça ?
Hello,un petit peu.Pour avoir moins de pertes de chaleur j’ai coulé les pièces en aluminium (chauffées par les lentilles de fresnel) dans de la résine époxy transparente, là j’ai un peu de temps prochainement je vais essayer pour voir. Je suis entrain de faire un autre système qui fonctionne comme un couvercle que l’on met sur une casserole sur le feu; il est en alu pour transmettre la chaleur aux modules peltiers, puis la chaleur est évacuée avec des ventilos de pc. J’étais bien occupé cette année, du coup ça a pas avancé super vite tout ça…Là je commence à avoir plus de temps libre donc ça devrait progresser plus vite!
Super put us informed of your progress please
Yes it inching (meanly but good that advance…) I put it on the site as soon as I can.
Tourmaline crystal
not bad at all your editing Bravo ! moi je vais voir pour en faire un collé sur mon poele à bois 🙂 d’un autre coté ventilateur de pc et ventirad pour un meilleur refroidissement d’une face 🙂
Thank you ! After with the energy released with this battery can not do much, each component installed output pump juice Joule… So now I try to make more efficient with lenses fresnel. We'll see what it will give…
It's very interesting, but I think that before searching recovered energy out and converted into electricity, you should you concentrated on daily energy losses and their direct use.
I am convinced that you will find it on your boat.
After that it is purely research
Thank you, Yes, it's true. To hide nothing even if I put anything on the site for a while I tinkered with this principle another thermal battery with fresnel lens (who almost burn besides passing). Result for now 4.5 volts for only 100 mA (with optimal weather, and battery in the face of the sun). I will change 2/3 stuff but I think not do much better, short is lightweight performance level to load something with the sun, and it takes a lot of stress for not much in the end. As always with this principle against it much better walking with boiling water (hot steam when you cook pasta for example…) I tinker a different system over there that produces more amperage, which should not be too lame hope.