change windows

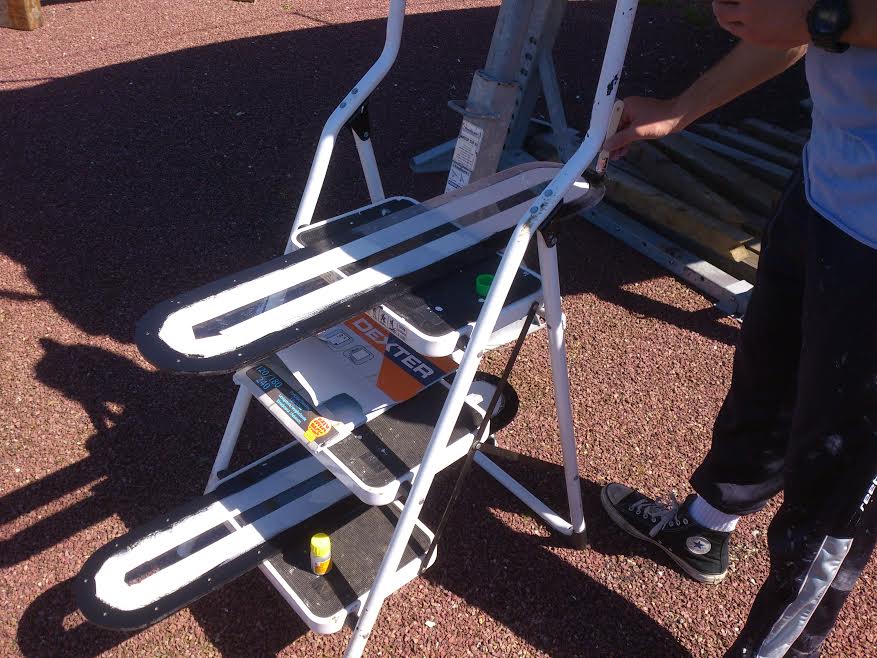
To avoid ordering custom windows when our pockets are empty(or if you don't want to pay an expensive bill), we can cut it in resistant materials against any impact, pressure and UV. The best is PMMA, For my part, I have cut them in a polycarbonate piece(used especially for motorcycles bubbles and CRS shields). My old windows were 6 thick, news are 8 mm. we may increase the thickness but not too much to keep some flexibility in the window during its installation, it must still adhere to the entire frame. we can find pmma pieces for a cheap price or nothing in companies specialized in plastic.

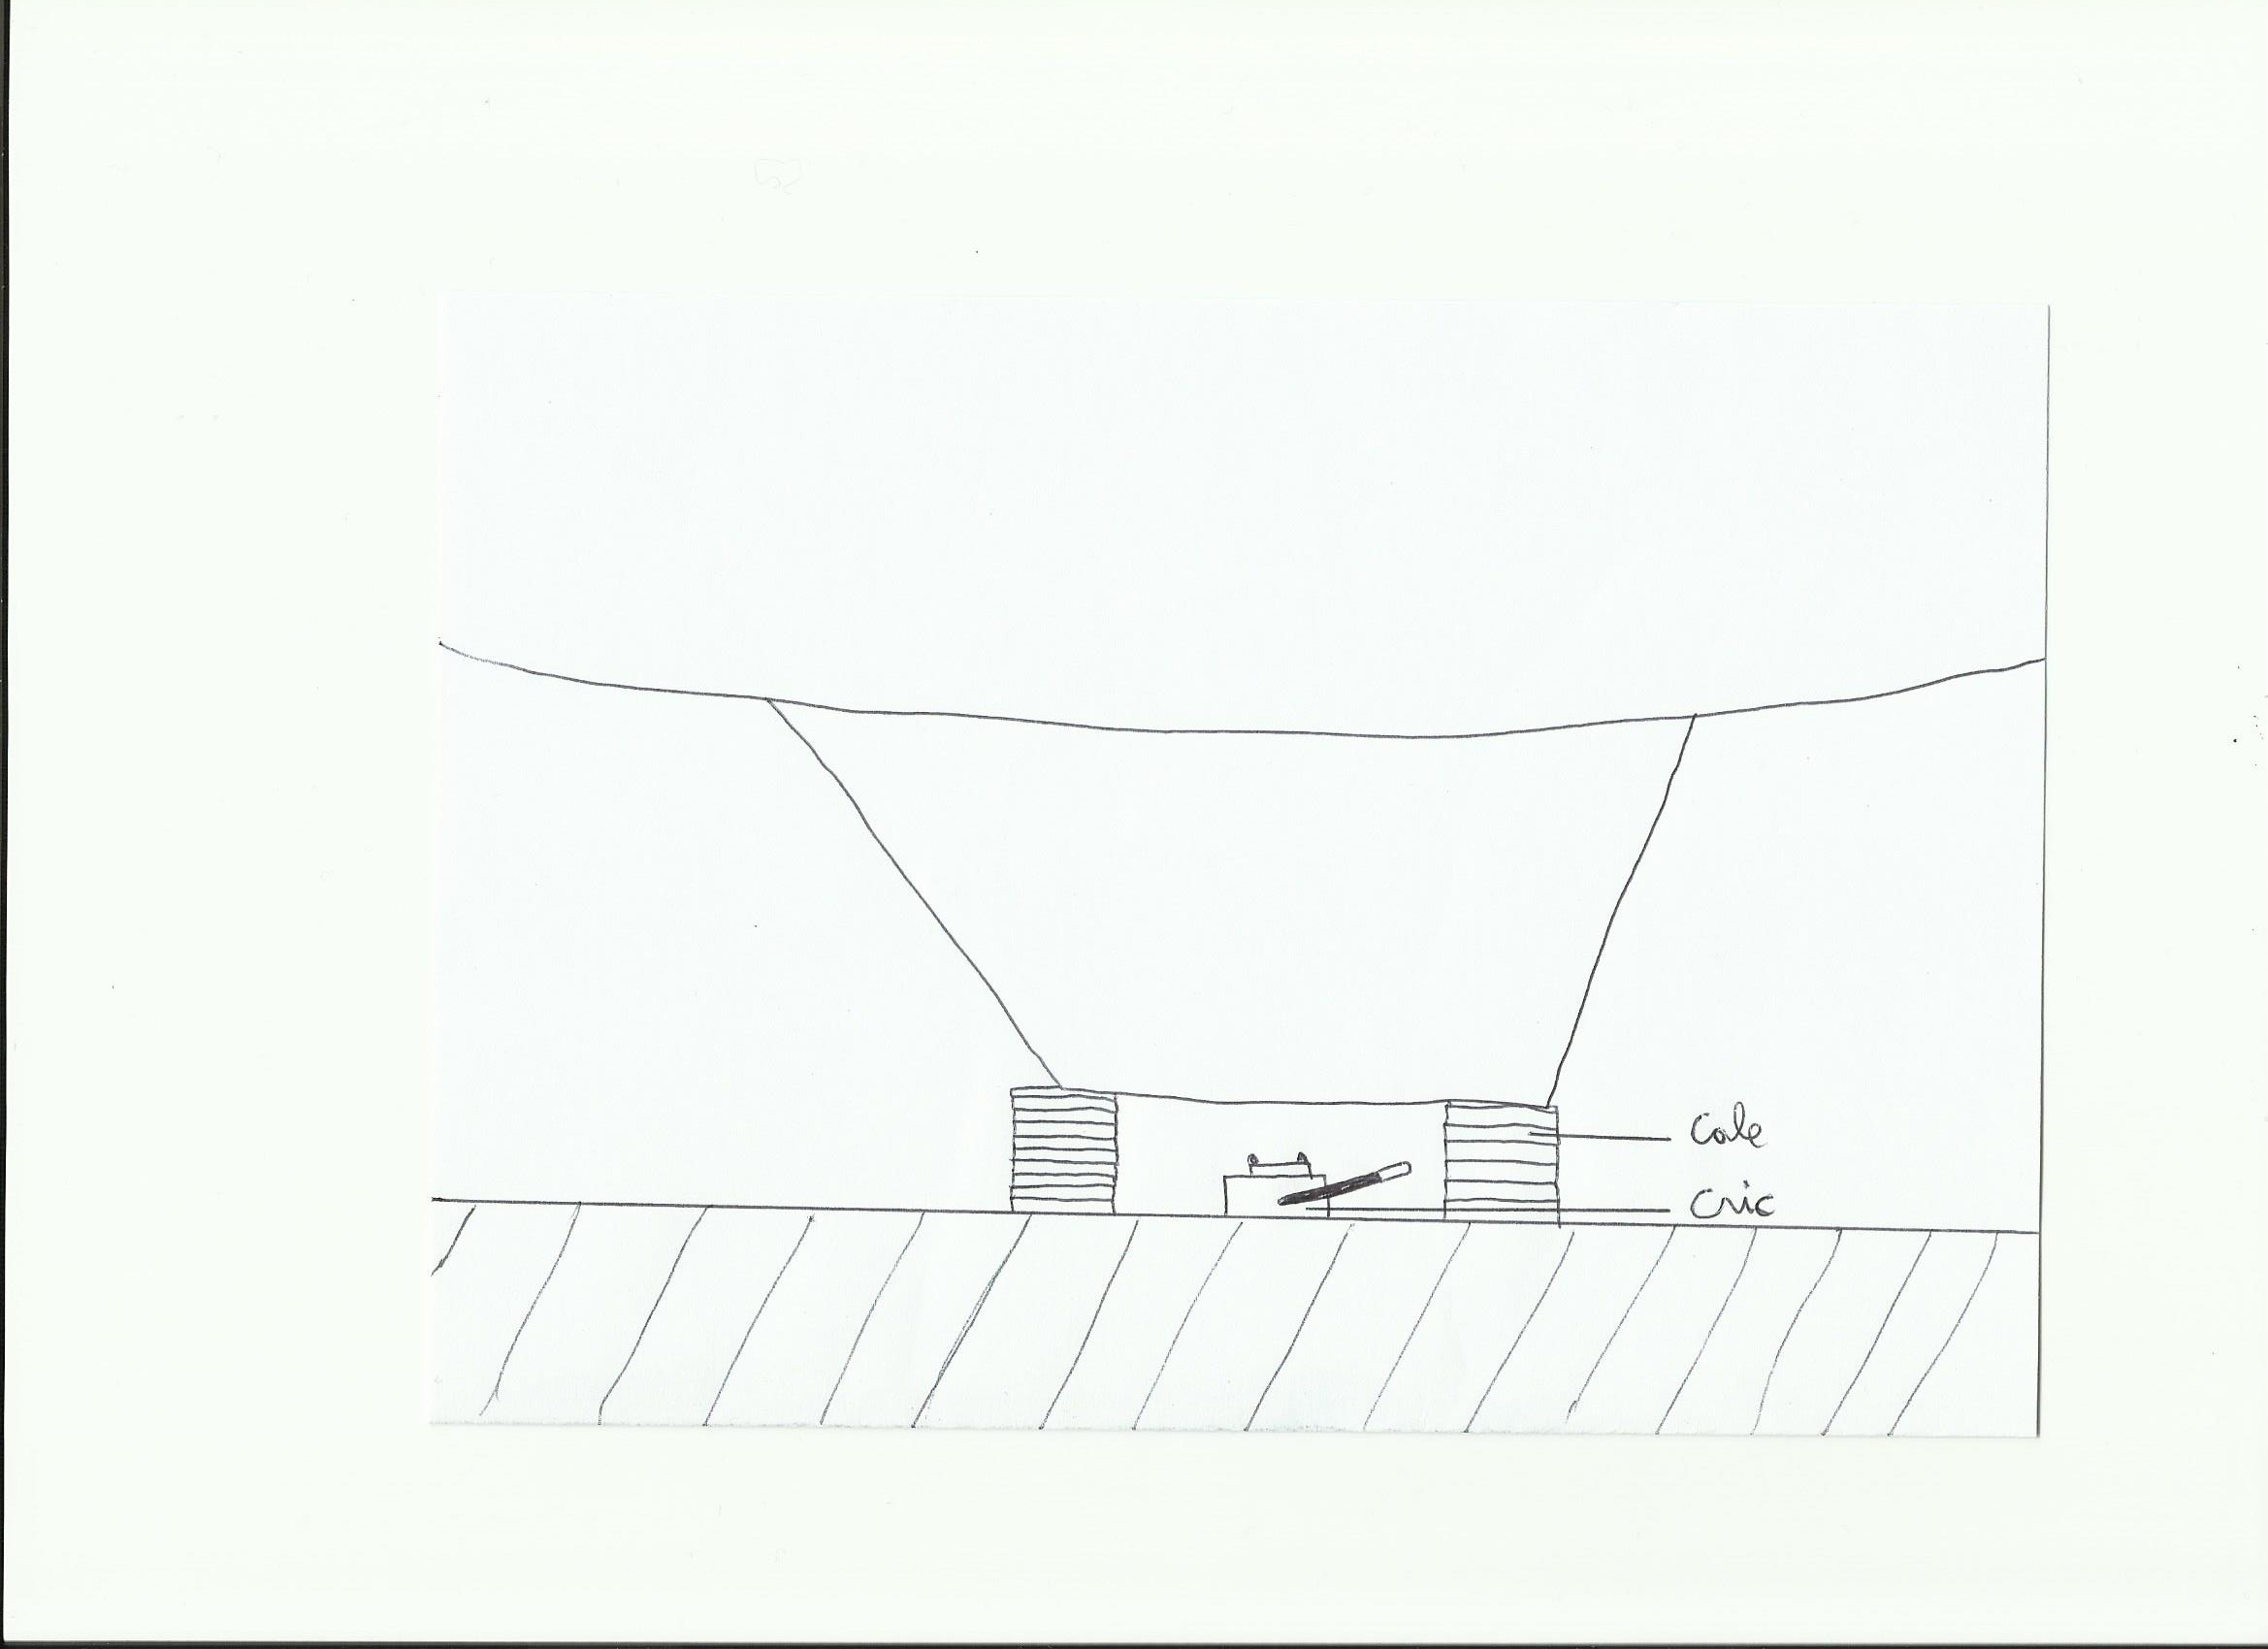
To fix a window without screws we must use shims to equalize the thickness of the seal, but well the easiest way is to stick and screw it. For this we will use the sika 295(UV resistant, specialized for bonding and sealing of windows)for the seal and screw metal countersunk head stainless steel A4, with nuts and washers also stainless. There are bonding window kits including sika, primary and appropriate degreaser. We must never grease windows with acetone.
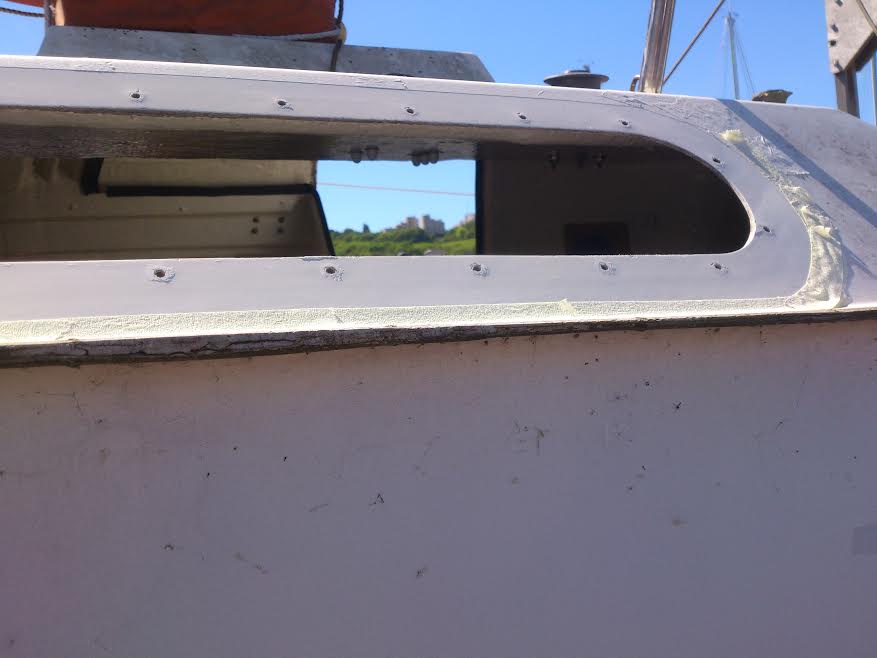
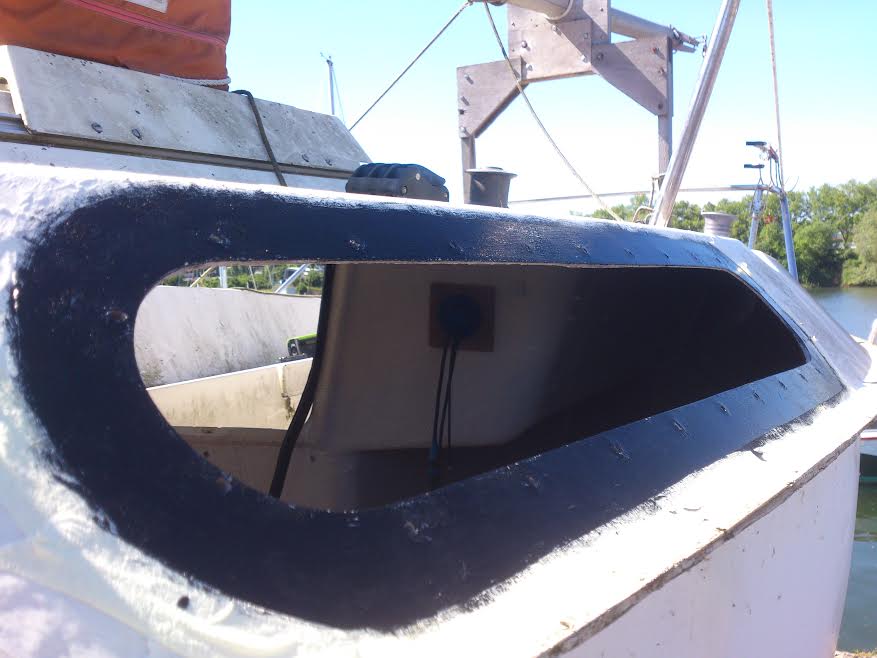
1)Preparation

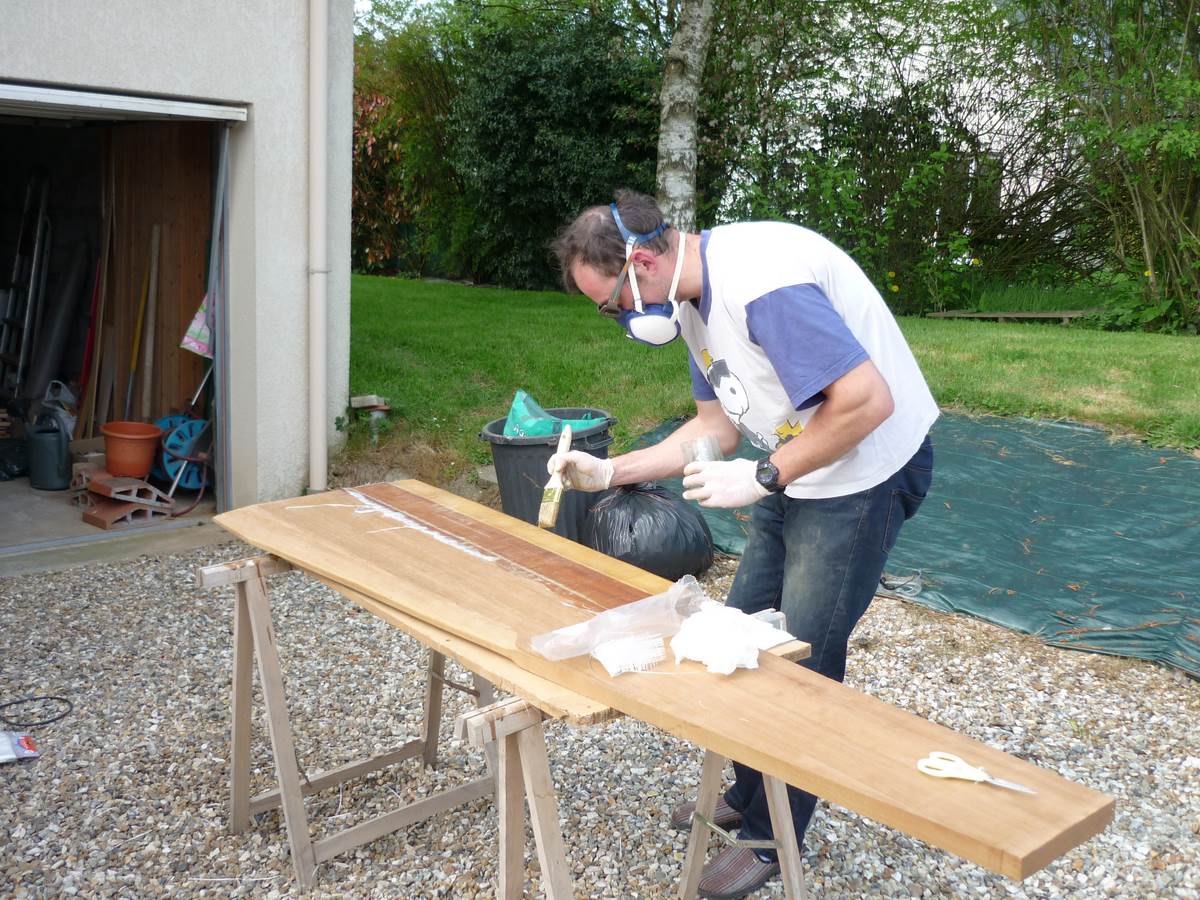
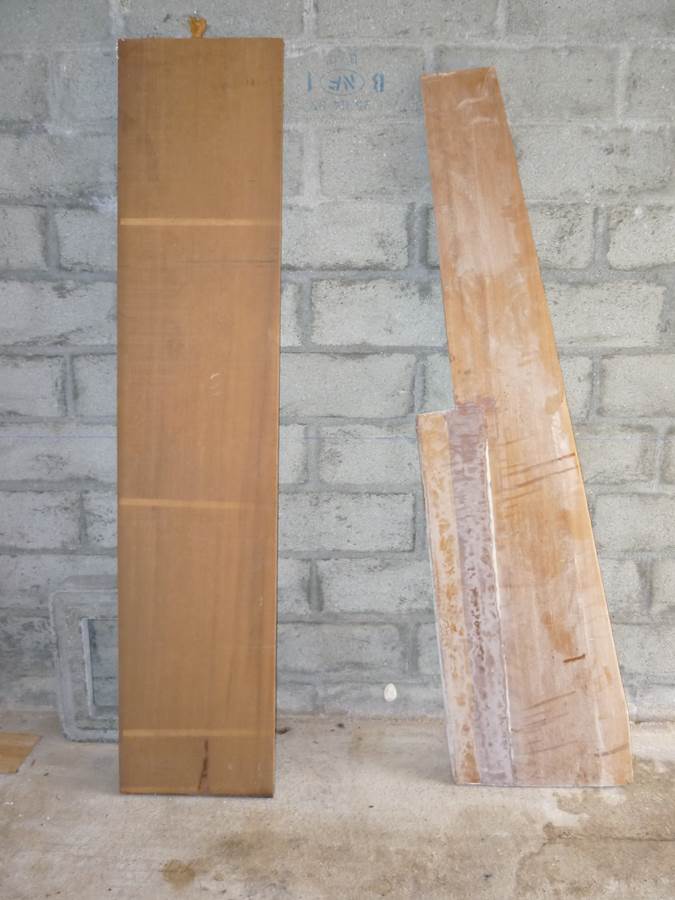
First we remove the old windows slowly to avoid damages on it(they may be still useful you never know)sometimes they can still be well bonded by the old seal. we must get rid of old traces of the original seal, we sand and degrease with sika cleaner. we use old windows as a model for the news, once cut do not forget to write on it their side and their orientation relative to the boat. If there is a protective film on the material it's better to keep it for the moment, it will serve further. To cut PMMA or polycarbonate it can be easily done with a jigsaw with a special blade PMMA / PVC.

When new windows are cut and drilled we check our drilling holes on the frame, for that we fix them “dry” to verify if our drilling holes are wide and placed enough with frame's holes . It is better to fix them with all the screws, just not to have surprises when we have put all of sika! Once we have set it up, we go inside the boat and with the cutter we cut the protective film around the frame, the protective tape reminder in the window's middle will serve to keep it clean of sika.

Finally, we countersink holes on the outside face to have screw heads in the window when they will be set up(in that way nothing will be blocked on it when we will sail).

2)Well, time to work

Before we put masking tape around the window, it will draw the seal's width, and will especially limit sika and all primary. The best is to use special masking tape for rounded.

portholes

If we have no protective film on our windows, we put masking tape on it, on inside face before putting the primary. After having degreased surfaces in contact(frame/window edges)with sika cleaner we may paint them with primary.

hublots6

hublots2

(Notice: primary and sika are black to hide any imperfections or bubbles on the seal)

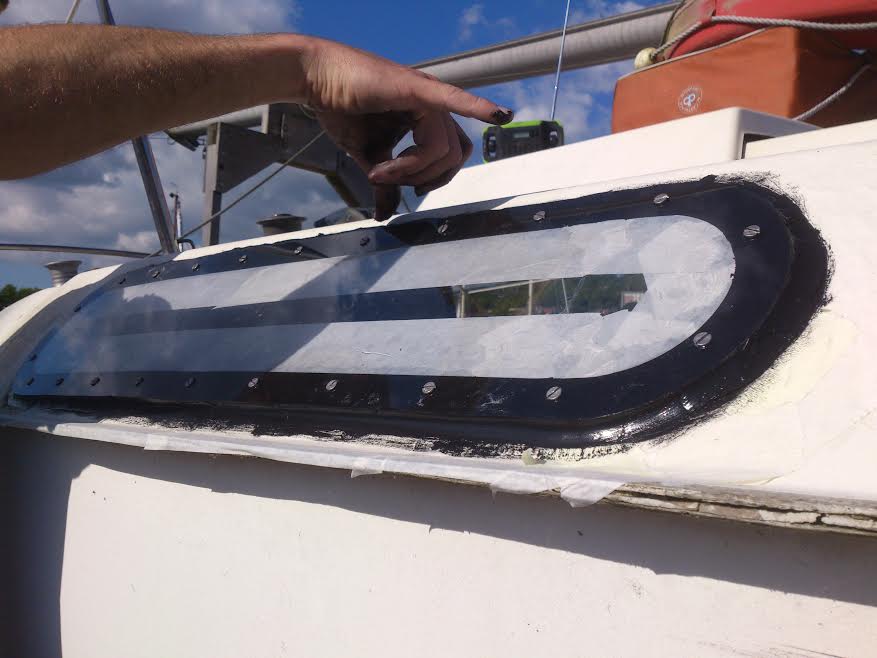
Then sika is applied on the windows passing outside screw holes.and we stick and screw!

hublots10

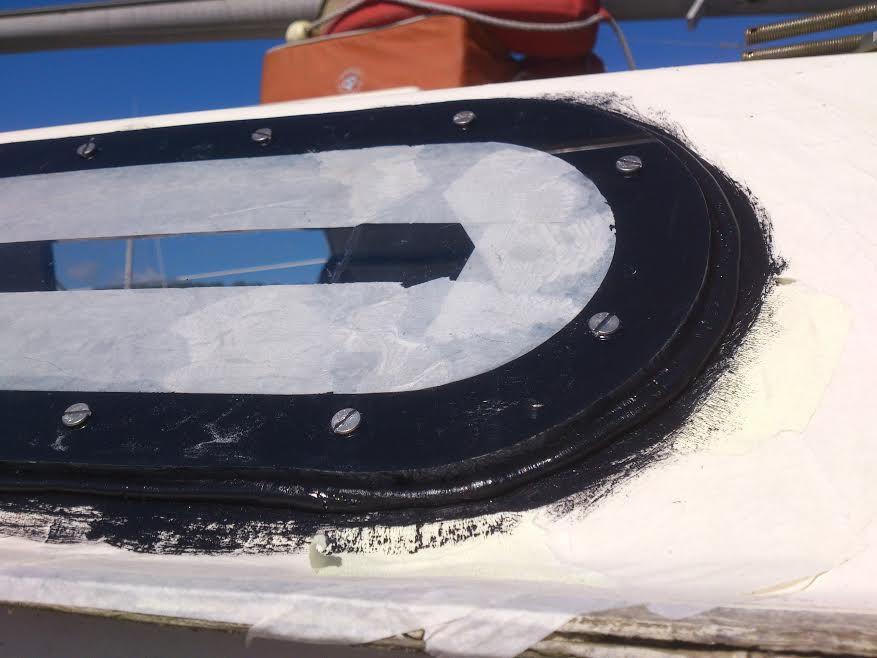
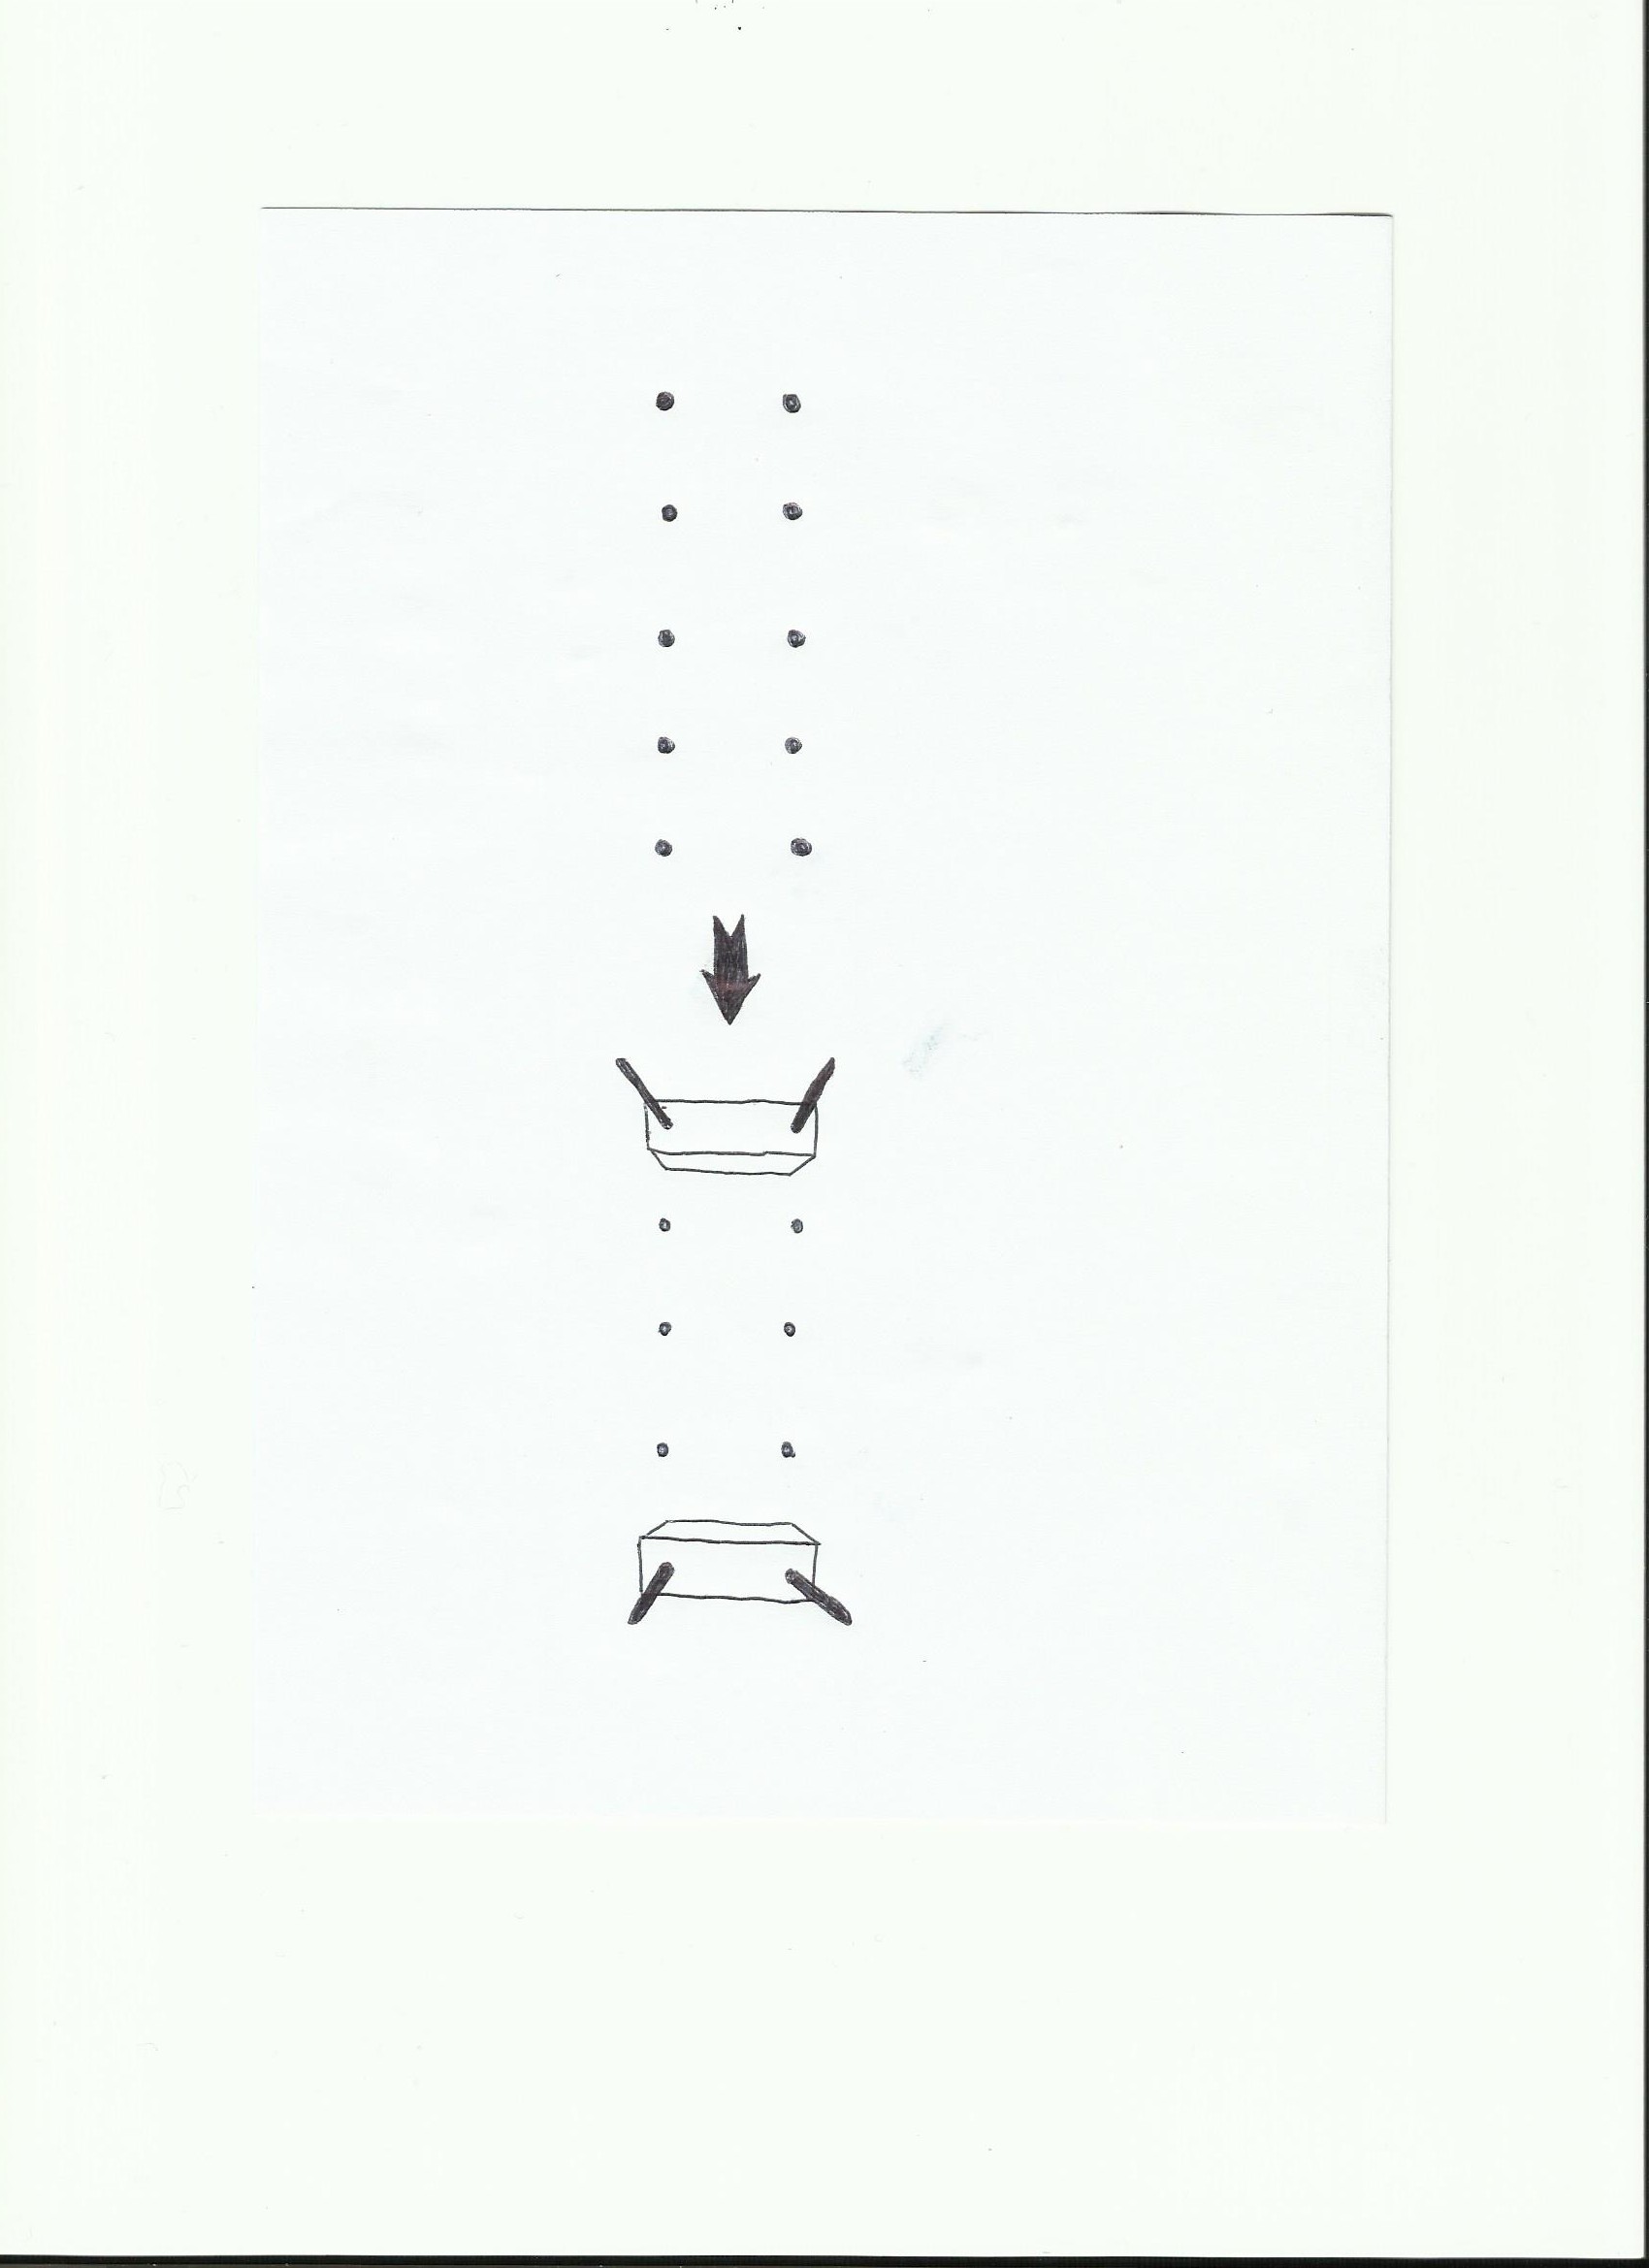
The window is a bit screwed as a car's wheel, we cross tightened screws each time by going from one side to an another of the window, to have a balanced seal's thickness everywhere. we don't tighten at the max while sika is not dry yet. we should foresee some turns more when sika will be dry, to ensure good sealing of all.

Then we are able to smooth the seal with our finger wet in dishwashing liquid.

hublots12

For a better finish we can add up sika on windows edges(first we will put masking tape to hide on the outer edges…)and smooth all with a flexible spatula dipped in dishwashing liquid. Then we undo the tape on the window and around the window. Once all is dry and screws tightened at the max after drying we can check the sealing.


Making a new rudder

There are several ways to make a new rudder; either can be made in polyester, this requires the construction of a mould, or made with wood. The first solution is interesting because it allows for a solid rudder without overloading weight(both sides of the rudder are molded apart, then before joining the two parts we bring hydrophobic foam inside and polyester ribs for the strength of the piece, and polyurethane foam)but it can quickly cost a lot. In addition to make the mould you must already have an original rudder. The cheapest solution is to make a wooden rudder, kind of wood I've used is irocco. It has the advantage of being almost never rotten and the disadvantage of being very dense, so quite heavy and difficult to work on(give it a shape, sand it).

1)Irocco

To find it just go around the next sawfactory, they will sell different types of boards in various sizes. When you are choosing your board it's very important to avoid twisted boards and boards withs wooden knots inside, It's better if you don't want to undergo a nervous breakdown during the cutting and planing time. For this type of wood it is necessary to use an electric planer and a large sander weight with good power to remove the thickness, for round corners and edges I used a large wood file, a grinder(take it easy)and for final sander. When you are working on irocco be careful use a dust mask, the irocco's sawdust is toxic and very fine, she flees everywhere. To have a straight rudder and no twisted, you must go slowly with the plane(remove small thicknesses by small thicknesses)and check steadily with a rule level to detect bumps and hollows(use a pencil on the spots where you will remove material).

2)The balanced rudder

For a small boat as kelt 620 I don't think it's necessary, but a balanced rudder bring a lot of benefits. it allows the helmsman less force to give and for long voyages it serves primarily to help the autopilot, autopilot will hold on longer in time and will burn less power. The main idea is simple, the turning axis of the balanced rudder is set up roughly 20% back from the leading edge to the maximum(20% of the width).

safran 2

In this way, when we are turning the rudder water'pressure will push the leading edge with the boat speed in the good sense.

safran3

When I've bought my board of raw irocco, the board was not large enough to make the rudder wanted on good ratings, so i had to do first the main part and then the other part corresponding to 20% of the leading edge. I have linked parts with wooden dowels and epoxy resin. To isolate and strengthen the junction I have covered it with polyester tissue and epoxy resin.

safran4

The small part added for the leading edge must be thinner, we have to foresee the thickness of the roving and resin used to secure the junction, don't forget that epoxy has a little shrinkage and is pretty difficult to sand so the best shape to win is this one:

safran5

For the purchase of roving fabrics it's useful to buy heavy tissue for the sides(300g is enough)and roving finest tissue (between 100 , 200g )for the leading edge and angles. epoxy is used so fiber tissue is uneeded.

saffron resin

Between each layer of tissue(we will first cut all our layers of fabric to the right size to be able to soak and laminate peacely)it is necessary that all fabrics drink resin,and to hunt every air bubles with the brush. We start in the middle to remove bubbles on the sides. When we have no workshop and we are outside this work has to be done in a sunny and dry weather. it's also better to be shelter from bugs and leafs…

saffron irocco

Finally we have this stuff, it only remains to paint it with a good polyurethane paint. I could have soaked all the wood in epoxy previously diluent in methyl alcohol , but because of missing coins I did not. Anyway painted irocco is strong enough I guess.


Change the keel's seal

When you buy a second-hand boat, one of our first reflex is to have a watch on keel's bolts to check if there are not fissures around, rust on bolts or just the presence of salt water in the bilges, evidence of an unfortunate encounter between the boat's keel and a rock or an other ofni lost during navigation. However even if all bolts and their places, if bilges and ribs seem healthy, the boat's lift may show the ravages of time, and it was unfortunately my case. The seal was original(30 years)and began to take off seriously, Moreover, I had no difficulty to remove it, in five minutes and with just my hands it came quickly!

1)Before all

First of all let me say that this method works for a small boat(in my case a kelt 620), here no more than 500 kg in the keel with a small hull about 22 feet in length overall. For a bigger boat I think we need to take more precautions about how to block the keel and how to dispatch boat's weight on boat's supports(once the keel is down, hull's center is laying on nothing).

First anticipation: if you expect to do that before boat's wintering, you must raise the boat on its supports to foresee space for keel's fall. you must foresee a space at least to clean the hull and keel's head, get rid of the old seal's remains, and also to set up a jack under the keel(in my case I used a Ford truck's jack, large enough so very stable under load). Personal I have been completely had because I have not foreseen that, and pay an additional lift if you can avoid it it's better. When you have foreseen the good space, we lay down the keel on boards like the following method:

jointquille

Wedges used should not be too thick, during keel's descent you may then do it smoothly , step by step while you are adjusting jack's place to balance the keel above.


Equipment used: we will need wd 40(if it will be difficult to unscrew the bolts), spare bolts A4 stainless steel(inox marine, the more resistant against corrosion)with nylstop nuts that go with( A4 too), four threaded stems corresponding to bolts diameter(with a good length) , and sikaflex type 291(specialized for sealing). For my little boat it has taken me 3 tubes of sika.

2)Let's go!

Before we turn down the keel of course we remove the old seal and all the keel bolts and back plates. Instead of it we set up the four threaded stems at the fourth ends of the keel, these ones will serve as guides and will support keel's weight during the fall. I also had previously put a wooden frame around the keel just in case, but finally it was unneeded.

quille5 [70]


The threaded stems were widely enough to guide and secure the keel. In case of doubt I had also thought about putting tires on each side if all would fall down.


To install the threaded rods in a good way to avoid damages on keel bolts holes where they will pass, inside the boat we will pass them through wooden pieces like this(sorry I lost the photo, so I show a small diagram instead):

jointquille2


After passing the rods across the wooden pieces, we block them with the back plates(we may use back plates of the keel bolts)and nuts.


The keel fall is easy, we center as much as possible the jack under the keel and we set it up smoothly in support of the keel to be able to removes the two firsts wedges. When this is done and the keel no longer lays down on the jack, the jack is lowered slowly; in my case it did not come on now and I had to beat to the top of the ballast with a hammer(do not forget to use a wedge for it, do not hit directly on the ballast). When she descends and get supported on the following two wedges, we repeat the same thing until the time we get enough space to work on the keel.

To remove the old seal(at least what remains)I used a spatula to scrape and acetone, and finally sandpaper . It is very important to degrease the two surfaces in contact(keel / hull)at the maximum before doing the seal.

3)Time to rise it

When I worked on the seal temperature was at least 20 ° C, so the sika has taken more time to harden and I had more time to work on it. Sika is applied to the head of the keel like the little drawing and outside hole's bolts :

jointquille3

Then we rise the keel with the jack and in the same time we put the wedges step by step under the keel. When the keel has returned to its initial level, if surfaces are in contact but Sika “doesn't overflow” enough it does not matter. We set up new keel bolts with sika on their length before screwing them(don't forget to put the back plates before!). We don't screw them at the maximum for the moment(foresee roughly five turns ahead before final tightening). Then you can remove the threaded rods and put bolts instead(the same don't tighten them at the maximum). Wait until the seal hardens to tighten everything at the maximum, it grows when it dries. If you tighten all at the max the first time, you may undo the seal when the boat will be lifted, and finally you would have done that for nothing…

quille2 [70]

Finally, sika is added to have enough material for the seal around the edge of the keel. Especially use gloves(it has taken me three days to regain normal hands)and a flexible spatula to smooth the seal. To have a good smoothing you can dip your spatula in a dishwashing product. Finally we put sika on the bolt heads.


When all these things are done, expected two / three days to tighten all the bolts to the maximum. Now it's ready!